How to Get Your Outdoor Space Summer-Ready in Five Simple Steps
With summer on the horizon, many of us will be thinking about getting our outdoor space ready for relaxing, hosting friends and family, and soaking up some rays!
With this in mind, Dave Gordon, General Manager at SGS Engineering has shared his top tips on how to get your outdoor space Summer-ready in five simple steps.
He said: “If you haven’t already started, May is a great time to get into your garden or yard and start tackling some simple DIY jobs so you can really enjoy that space in the summer. It can be really satisfying to do and see the results of your hard work. A bit or work now can also save you a lot of time in the coming months too.”
Prune over-hanging tree branches
April is really your last chance to prune any tree branches, because typically they’ll be moving back into the growth stage fairly soon (if they haven’t already).
If you’ve got a patio or outdoor seating area that is situated underneath a big tree, then you may want to prune back some of the branches so you can still get plenty of sunshine coming through.
Pruning is particularly important for any branches that look dead or could be potentially hazardous.
Don’t get too carried away though! Over pruning can lead to disease entering the tree in the future, so if you’re doing it for aesthetic reasons then keep it to a minimum.
If the tree roots are in one of your neighbours’ gardens, then it’s polite to check with them before you get to work. Legally, you can trim branches that cross over onto your property, but only up to the boundary line. If you live in a conversation area, you might need you’re your council’s permission to trim them.
If you know what you’re doing then a chainsaw is usually the right tool for the job, particularly with large branches. A qualified tree surgeon should always be brought in if you’re not totally confident.
For smaller pruning jobs, long tree loppers will come in very handy. For hedges and big shrubs, a hedge trimmer is your best bet although you should always check for nesting birds from March-August.
Jet wash patios or decking
You wouldn’t believe how much difference a spot of pressure washing can make. Over the years dirt builds up and this can make patios and paths slippery as well as making them look scruffy.
You can clean these surfaces with a hose, a scrubbing brush, and a lot of leg work but it is a lot easier to tackle the task with a jet or pressure washer.
If you don’t own one (or you don’t have a neighbour, friend of family member you could borrow one from) then you can often hire these locally. It’s worth having a look online.
Before you start jet washing, you’ll want to remove any pot plants or furniture out of the way and sweep up any leaves. Next, make sure your hose is firmly attached to your outdoor tap and the water is running freely before you switch the power on.
To start, work from one edge or corner and use a sweeping motion. You may need a more powerful setting if the dirt isn’t coming off, or if you’re worried about damaging the surface (take more care with wooden surfaces) you could go back and do the same patch again.
Avoid areas where there is chipping, splits or damage as the pressure could make this worse.
It might seem obvious too, but you should also always keep the nozzle end several inches from your feet as jet washers can cause serious injuries if you’re not careful. You’ll also want to wear some waterproofs and welly boots as it can get messy!
Give your shed and fence a lick of paint
Much like jet washing, a new lick of paint can really spruce up your outdoor space. If there is already a layer of paint on there, then it’s a good idea to sand down rough or flaky areas and apply a fresh layer or primer first. This will give you a much smoother and smarter finish.
If you have a lot of fence panels to paint, then a pump or power sprayer can be a big time-saving solution. Paint brushes are great for smaller spaces and edges, but a sprayer will tackle large sections in no time.
Before you get stuck in be sure to cover plants, vegetation, and any garden furniture with plastic sheeting. You should also avoid painting on a windy or wet day.
Fix loose paving slabs
Wobbly, wonky paving slabs can not only be unsafe, but they can also leave your otherwise pristine patio looking a bit untidy.
Slabs can come loose over time if they were laid on an uneven bed, or not properly set in mortar.
The good news is that it’s relatively easy to fix. You’ll need a few tools though…
A rubber mallet
A heavy-duty chisel
A spade
Sharp sand
Cement
A bucket or wheelbarrow
A couple of pieces of timber (slightly longer than your paving slabs
Begin by chipping away the mortar under your wonky slab until it comes free.
Then, slide your spade into the gap and prise the slap free. Pop one of your pieces of wood underneath to help create a lever.
When the paving slab is up, use your chisel to remove any of the old mortar. Make sure the ground underneath is clear of any rubble. Then, level it out again and create a shallow hatch pattern – this helps the new mortar to stick better.
Mix your new mortar in a bucket – this is usually around four parts sharp sand to one part cement – before applying a layer into your prepared spot. Make sure there is plenty of mortar there, but still enough space for your slab.
Carefully place your slab back down, and make sure the spacing is right on all sides. You can place small pieces of wood into the gaps to keep them even if you’d like. Leave it to dry for 24 hours.
When dry, mix up some more mortar and carefully pour this into the gap, taking care not to overfill them. Again, leave them for 24 hours.
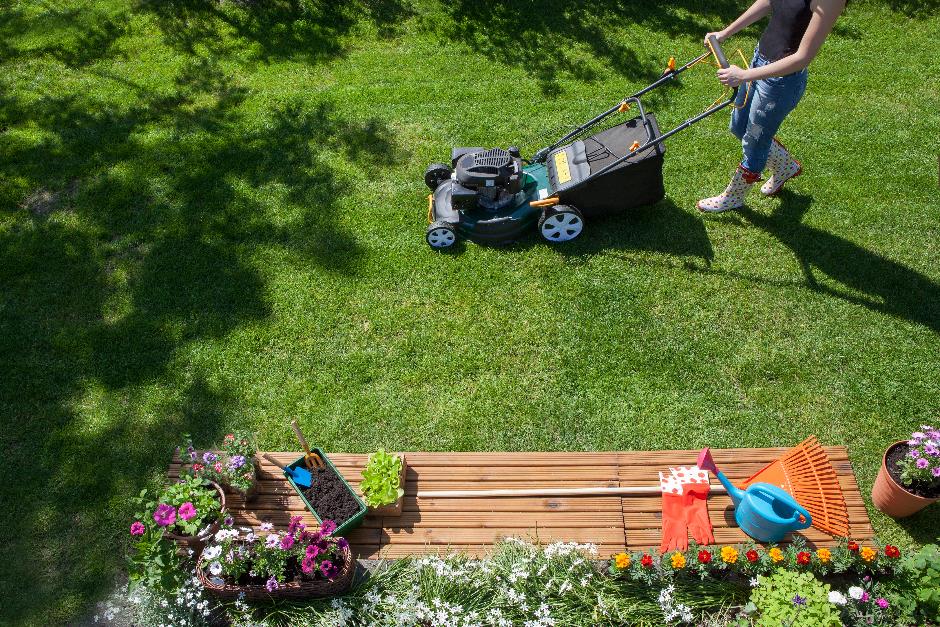
Tackle your lawn
The final step is to tidy up your lawn. Over winter and into spring you may have found that some of your grass has died away (this can happen if you allow fallen leaves to sit – we recommend using a leaf blower). Don’t worry though, a bit of TLC will fix the problem in no time.
It’s typical to start mowing your lawn regularly again in April, but it’s best to wait until it is at least three inches in length. Set your lawn mower to the highest cutting setting and avoid excessive close mowing as this can weaken the grass and make your lawn more susceptible to weeds and moss. Close-moss lawns also need watering and feeling more.
Use a strimmer to tackle lawn edges. You’ll get a much neater finish and save yourself time with your mower too.
After cutting the grass you’ll be able to see if there are any patches you need to address. If you need to lay some fresh lawn seed then be sure to clear dead grass or weeds from the patches first, aerate the ground, apply topsoil if needed, rake the seed in, and then water it regularly.